Screenify is now an MCP server
Connect Screenify to Claude, Claude Code or Cursor and ask for the finished video — recorded, styled and exported, without touching a terminal.
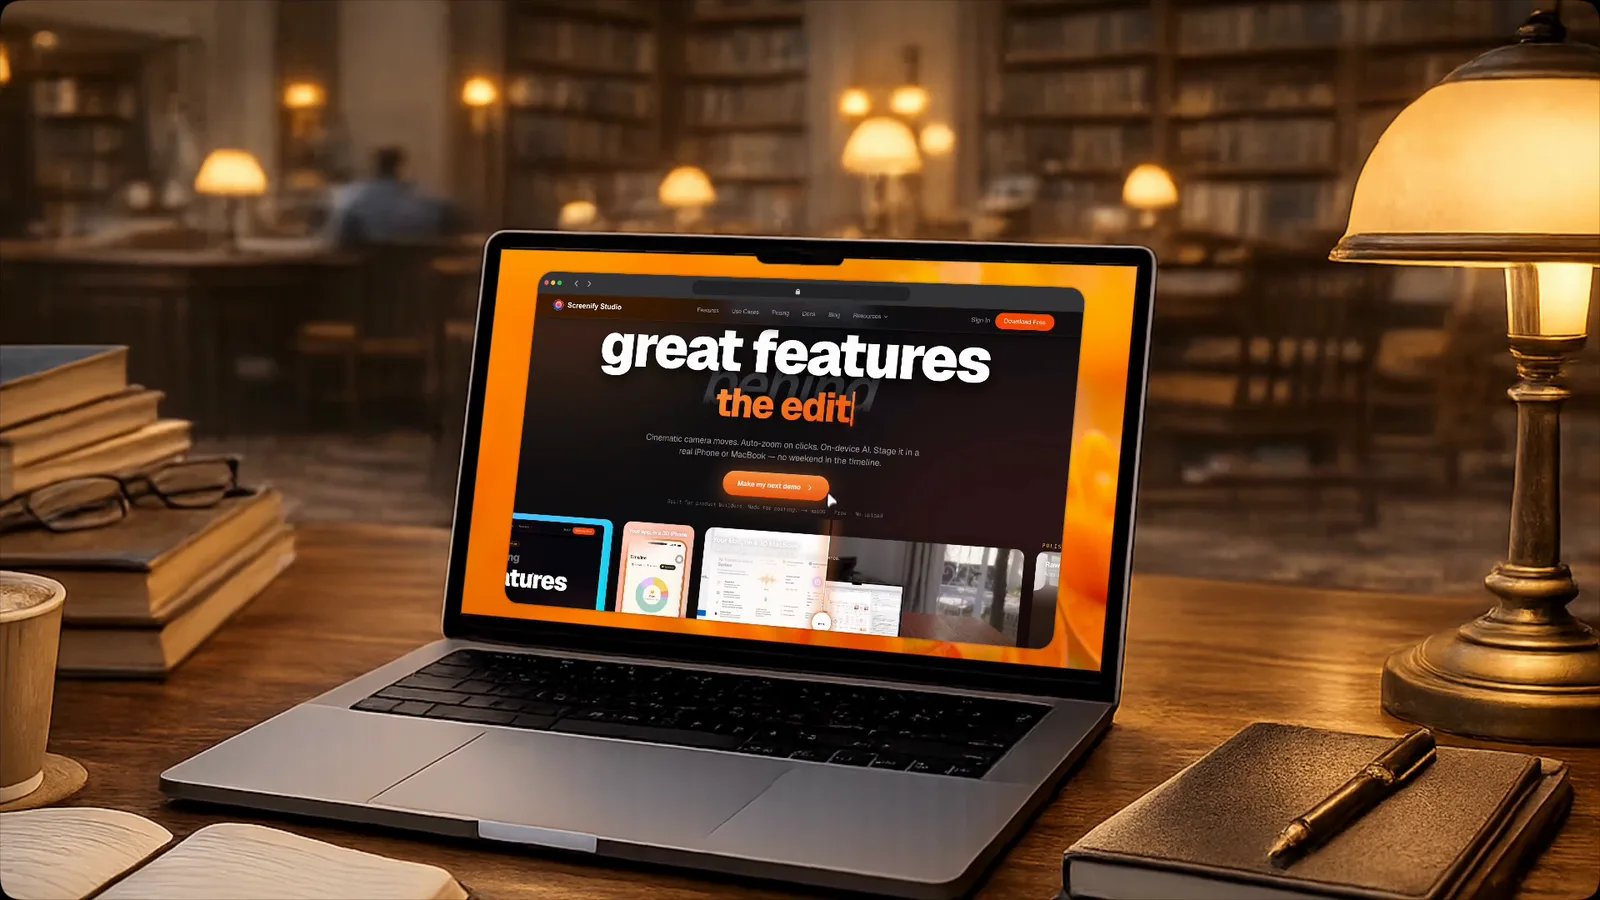
Screenify has been scriptable for a while. There is a command line, an agent mode that drives a browser through a demo, an AI director that places cinematic effects on the moments that matter. All of it worked — as long as you were willing to open a terminal.
That was the part still in the way. Most people who make product demos are not the same people who enjoy remembering flags.
With 2.2.0, Screenify speaks MCP — the Model Context Protocol, the standard AI assistants use to plug into applications. Connect it once, and Claude, Claude Code or Cursor can record your screen, style the video, and hand you the file.
What it looks like
You ask for the thing you actually want:
"Record a 12-second demo of my landing page and make it look good."
The assistant records the screen, applies a background and framing, exports, and gives you a path to the finished mp4. No flags, no config, no intermediate files you have to clean up afterwards.
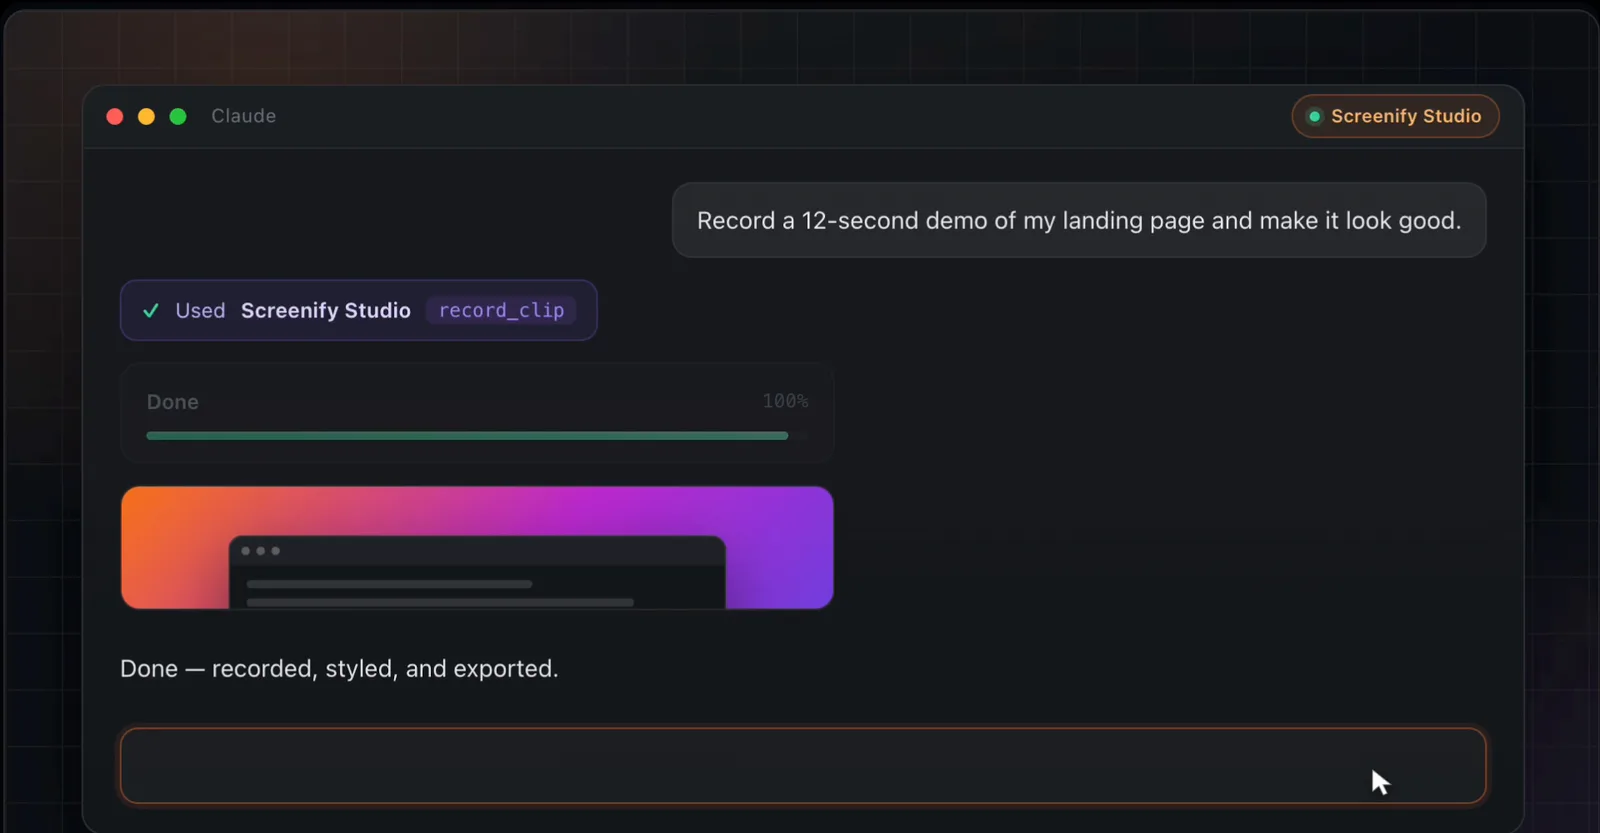
Longer jobs report progress while they run and can be cancelled halfway. Nothing is uploaded — the recording, the render, and the output file all stay on your Mac.
Connecting takes one click
Open Settings → AI Assistants → Connect AI assistants. Screenify finds every MCP client installed on your Mac and registers itself with each one, then shows you the result per app.
If you would rather double-click a file, there is a bundle for Claude Desktop. If you live in a terminal anyway, screenify mcp install does the same thing.
One detail worth knowing: in the Claude app, newly added connectors start switched off. Open a chat, find Screenify Studio in the + → Connectors menu, and turn it on once.
It is the whole studio, not just capture
This is the part that makes it different from wiring a screen recorder to a chat window. Everything the editor can do is reachable:
- Backgrounds and framing — wallpapers, solid colours, padding, rounded corners, shadows
- Device mockups — an iPhone or a MacBook, in 2D or as a 3D scene
- Photo mockups — your recording set inside a real photograph: a desk, a coffee shop, an airplane tray, a hand holding a phone. Ask for "a café desk" and Screenify picks one from its built-in catalogue and matches the perspective for you
- Camera moves and effects — auto-zoom on clicks, 3D camera tours, spotlights, callouts, and slow pushes across a photo
- Web demos — hand it a URL and a task, and it drives a real browser through the flow before styling the result
- Formats — mp4, mov, gif, webp, with presets for YouTube, TikTok, Reels and the rest
You can also point it at footage you already have. Give it any video or image file and it becomes a project you can style — useful when the recording came from a phone, a colleague, or a screen capture you took months ago.
Try Screenify Studio — free, unlimited recordings
Auto-zoom, AI captions, dynamic backgrounds, and Metal-accelerated export.
If your agent already has a terminal
Coding agents that run shell commands — Claude Code, Codex — do not need any of this. They can call the screenify command directly, and there is a manifest they can read to discover every option without guessing:
screenify guide --jsonMCP exists for the other half: assistants that live in a chat window and cannot spawn processes. Claude Desktop, Cursor's chat, and anything else that speaks the protocol. Both routes drive the same engine and produce the same files, so it is a question of where you happen to be working, not which one is better.
What it does not do
A few limits worth stating plainly, so nothing surprises you after you install it.
It is macOS only — screen capture, the export pipeline, and the device rendering all depend on it. It needs Screenify Studio installed, because the bundle carries no engine of its own; it launches the one inside the app. And it needs the screen-recording permission granted to whichever app is driving it, which macOS attributes to the process doing the capture rather than to the chat window you typed in. Screenify checks this for you before the first recording and points you at the right settings pane if it is missing.
There is also no cloud step anywhere in this. That is a deliberate constraint rather than a missing feature: an assistant asking for a recording of your screen is asking for something sensitive, and the answer stays on the machine that made it.
Why a protocol and not another integration
Building one integration per AI app does not scale, and it ages badly. MCP means Screenify describes its tools once, and any client that speaks the protocol can use them — including clients that do not exist yet.
It also keeps the boundary honest. The assistant decides what to ask for; Screenify decides how to record and render it. Your files never leave your machine to make that work.
Get it
Screenify Studio 2.2.0 is out now.
Download Screenify Studio — free, macOS.
Then: Settings → AI Assistants → Connect. Full setup notes, the tool list, and the permission details are in the MCP documentation.

Try Screenify Studio
Record your screen with auto-zoom, AI captions, dynamic backgrounds, and Metal-accelerated export. Free plan, unlimited recordings.
Download Free



