Why Screen Recordings Are So Large
A five-minute capture can be 4 GB. Here's what makes screen recordings huge, and four ways to shrink them without making the text unreadable.
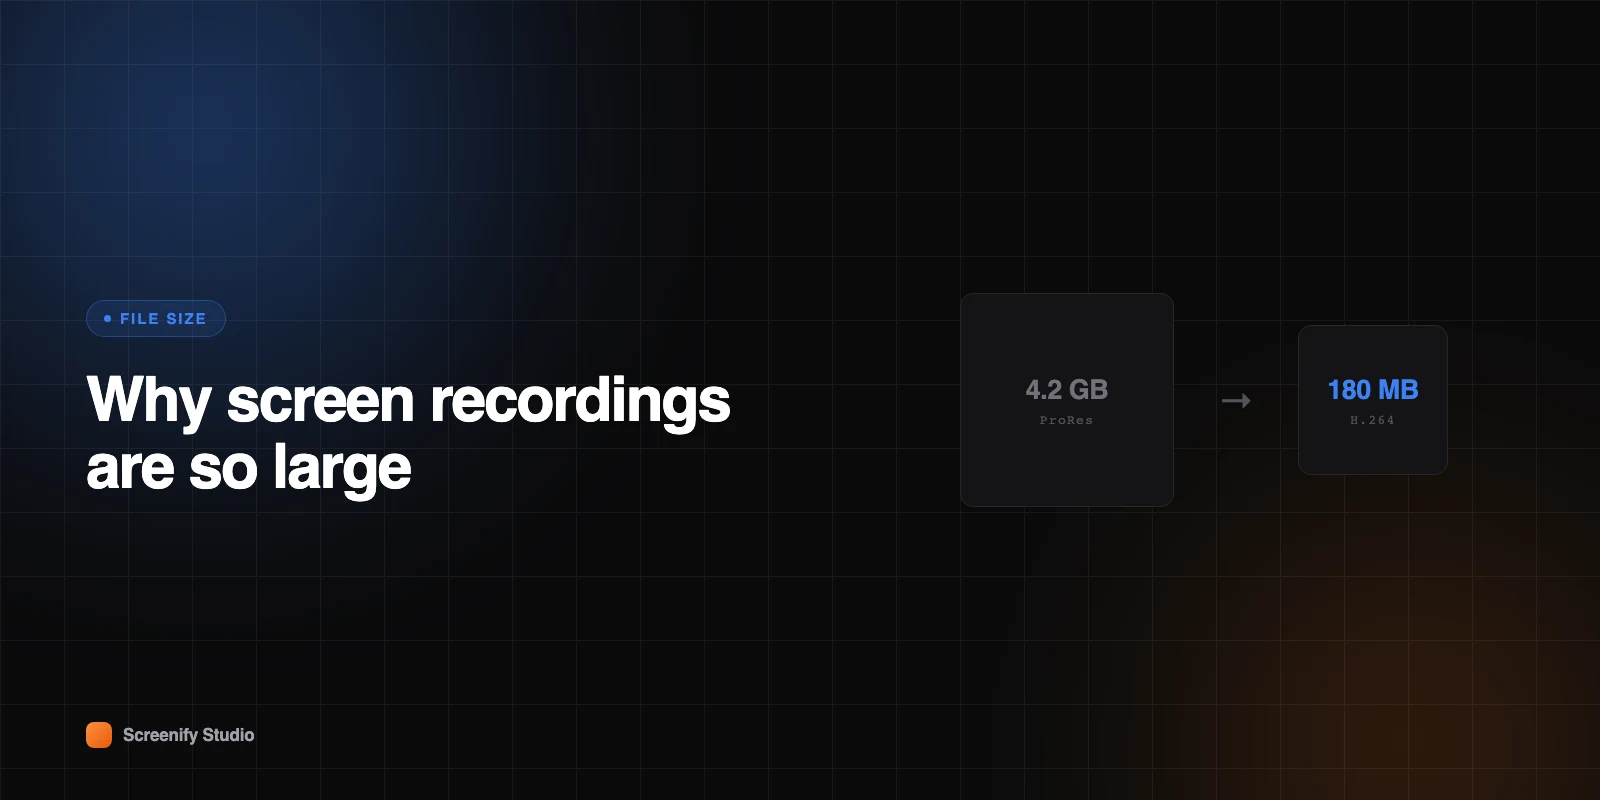
You record a five-minute walkthrough and the file is 4 GB. The same length of Netflix streams in under 300 MB. Both are 1080p video, so the obvious question is what your Mac is doing that a streaming service is not.
The answer is that they are solving opposite problems, and the defaults on your machine are tuned for the one you probably do not have. This explains where the bytes go and how to get them back without turning your UI text into mush.
Quick comparison
| Method | Typical saving | Quality cost | Difficulty |
|---|---|---|---|
| Record smaller in the first place | 50–75% | None | Easy |
| Re-encode with ffmpeg | 80–95% | Small, controllable | Medium |
| Export presets in a recorder | 80–90% | Small | Easy |
| HandBrake | 80–95% | Small | Easy |
The first row is the one people skip and the only one that costs nothing.
Where the bytes actually go
Four multipliers, and they compound.
Resolution, and specifically Retina. A 14-inch MacBook Pro captures at 3024×1964, not 1512×982. That is four times the pixels of the logical resolution you see. Recording a 5K display is nine times a 1080p frame. Before any other setting, this alone explains most oversized files.
Frame rate. 60 fps is double the data of 30 fps. Screen content — a cursor moving, text appearing, a page scrolling — almost never needs 60. Game capture does. A UI walkthrough does not.
The codec and its intent. Streaming services encode once, slowly, with enormous compute, targeting the smallest file that still looks right. Your Mac encodes in real time while you are also running the app you are demonstrating. Real-time encoders spend bitrate to avoid dropping frames. ProRes, which some recorders default to for quality, is intentionally lightly compressed — it is an editing format, not a delivery format.
Screen content is deceptively hard to compress. This is the counterintuitive one. Video codecs are built for natural imagery — gradual motion, soft edges, film grain that masks artefacts. Screen content is the opposite: razor-sharp text edges, large flat colour areas, and instant full-frame changes when you switch windows. Sharp edges are expensive to encode, and every window switch forces a keyframe, which is a full uncompressed-ish frame. A five-minute demo with forty window switches carries forty of those.
The rough numbers
Per minute, 1080p, for orientation rather than precision:
| Format | Approx. per minute |
|---|---|
| ProRes 422 | 1.5–3 GB |
| H.264, real-time high bitrate | 300–800 MB |
| H.264, tuned for delivery | 20–60 MB |
| H.265/HEVC, tuned for delivery | 10–40 MB |
The gap between rows three and one is 50× for footage that looks essentially identical on a web page. That gap is the whole opportunity.
Method 1: record smaller in the first place
Free, instant, and it improves the video as well as the file.
Step 1 — record a region or a window, not the whole display. A 1280×800 region of a Retina display is a fraction of the data of the full 3024×1964 panel, and the result is more watchable because the content fills the frame.
Step 2 — drop to 30 fps. Almost every recorder defaults to 60. For screen content the difference is invisible and the saving is half.
Step 3 — set the capture resolution deliberately. If the output is going on a web page at 1280 wide, capturing at 3024 wide and downscaling later wastes storage and encode time for detail nobody sees.
Step 4 — close what does not need to be in frame. Fewer moving elements means fewer changed pixels means smaller files. A live notification centre, an animated wallpaper, or a video playing in another window all cost bytes.
Good for: everything. This is the highest-leverage change and it has no downside.
Bad for: cases where you genuinely need the whole desktop at native resolution — a multi-window workflow demo, for instance.
Method 2: ffmpeg
Free, precise, scriptable. The tool to reach for when you already have a large file.
Basic re-encode to H.264:
ffmpeg -i input.mov -c:v libx264 -crf 23 -preset medium \
  -pix_fmt yuv420p -c:a aac -b:a 128k output.mp4
CRF is the dial that matters. Lower is better quality and bigger. For screen recordings:
18— visually lossless, still large20–23— the sweet spot for UI content, text stays crisp26+— text edges start to smear, which is exactly what you must not do
Screen content punishes high CRF harder than film does, because the artefacts land on text where the eye is looking. Do not push past 24 for anything with UI in it.
H.265 for a further 30–50%:
ffmpeg -i input.mov -c:v libx265 -crf 26 -preset medium \
  -tag:v hvc1 -pix_fmt yuv420p -c:a aac -b:a 128k output.mp4
The -tag:v hvc1 is essential for Safari and QuickTime playback; without it Apple players refuse the file. Note that HEVC's CRF scale runs differently — 26 in H.265 is roughly 23 in H.264.
Hardware encoding on Apple Silicon, dramatically faster:
ffmpeg -i input.mov -c:v hevc_videotoolbox -q:v 60 \
  -tag:v hvc1 -c:a aac -b:a 128k output.mp4
Faster, slightly larger at equal quality. Worth it for batches.
Downscale and re-encode together:
ffmpeg -i input.mov -vf "scale=1920:-2" -c:v libx264 -crf 22 \
  -preset medium -pix_fmt yuv420p -c:a aac -b:a 128k output.mp4
-2 keeps the aspect ratio and guarantees an even number, which H.264 requires.
Good for: batch processing, exact control, and putting the step in a script.
Bad for: anyone who does not want a command line. Also easy to get wrong — a missing -pix_fmt yuv420p produces a file that plays nowhere.
Method 3: your recorder's export presets
The pragmatic middle. Most purpose-built recorders separate capture quality from export quality precisely because of this problem.
The pattern worth adopting: capture at high quality, export at delivery quality. You keep a good master for editing and produce a small file for sharing, without re-encoding by hand.
Screenify Studio does this — capture stays high fidelity, and export presets target where the video is going, so a clip for a landing page comes out sized for a landing page rather than sized for an edit bay. Free tier exports 1080p up to five minutes with a watermark.
Good for: staying in one app, and not thinking about codecs.
Bad for: unusual requirements. A preset is a preset.
Try Screenify Studio — free, unlimited recordings
Auto-zoom, AI captions, dynamic backgrounds, and Metal-accelerated export.
Method 4: HandBrake
Free, open source, and a graphical front end to roughly what ffmpeg does.
Step 1 — open the file. Step 2 — choose a preset; Fast 1080p30 is a sensible starting point. Step 3 — under Video, set Constant Quality to RF 22 or so. Step 4 — Start Encode.
Good for: people who want ffmpeg's results without ffmpeg's syntax, and for queuing a batch.
Bad for: scripting, and for the last few percent of control.
Find out what you actually recorded
Before optimising, look at what came out. ffprobe ships with ffmpeg and answers most questions in one line.
ffprobe -v error -select_streams v:0 \
  -show_entries stream=codec_name,width,height,r_frame_rate,bit_rate \
  -show_entries format=duration,size -of default=noprint_wrappers=1 input.mov
What to look for, and what each answer tells you:
width/heightfar larger than you expected — you captured a Retina display at native resolution. This is the number one cause and the easiest fix.codec_name=prores— you have an editing master, not a delivery file. Expect 10–50× the size of a tuned H.264.r_frame_rate=60/1— halve it.bit_ratein the tens of millions — a real-time encoder was being generous. This compresses enormously.
A quick sanity check on any file: divide size in megabytes by duration in seconds. Anything over about 8 MB/s at 1080p has headroom. Anything under 1 MB/s and you should be checking whether the text still reads.
Getting a large file to someone
Sometimes the file is already made and the question is delivery rather than encoding.
Email is out. Most providers cap attachments at 25 MB, which is about thirty seconds of untuned 1080p.
Cloud storage links work and are what most people reach for, but they cost the recipient a download and a player. For a review clip that is friction.
A hosted link that streams is better for anything someone else has to watch, because it plays in the browser at whatever bitrate their connection supports. This is what share links in recording tools are for.
Compress before sharing regardless. Even where the platform accepts a 2 GB file, uploading it takes ten minutes and the recipient waits. A 60 MB version that looks the same is strictly better for everyone.
For a bug report specifically: trim hard and compress hard. A developer needs the twenty seconds around the failure, not the four minutes of setup. A 5 MB clip that gets watched beats a 500 MB one that gets postponed.
Why GIFs are not the answer
People reach for GIF when a file is too big to attach, and it makes things worse.
GIF has no inter-frame compression worth the name and a 256-colour palette. A UI screenshot with a gradient dithers badly and looks noticeably worse than the source. A five-second UI clip that is 400 KB as MP4 will routinely be 4–8 MB as a GIF, at lower quality and lower frame rate.
The reason GIF persists is autoplay-and-loop in places that historically did not play video inline. Most platforms now do — GitHub, Slack, and every major social network accept short MP4s and loop them. Convert only when the destination genuinely will not take video:
# high-quality GIF via a generated palette, still larger than the MP4
ffmpeg -i input.mp4 -vf "fps=12,scale=800:-1:flags=lanczos,palettegen" palette.png
ffmpeg -i input.mp4 -i palette.png -lavfi "fps=12,scale=800:-1:flags=lanczos [x]; [x][1:v] paletteuse" out.gif
Note the fps=12 and the 800px width. Both are concessions you would not make for video, and they are what keeps the file from being absurd.
What not to do
Do not just lower the resolution to 720p. It shrinks the file, and it also makes the UI text you are demonstrating unreadable. Text legibility is the entire point of a screen recording. Reduce bitrate before resolution.
Do not use a high CRF to hit a target size. Above 24 the artefacts concentrate on text edges. A 40 MB file with smeared text is worse than a 90 MB file with clean text.
Do not upload the ProRes master. Obvious, and it happens constantly, usually because the export dialog defaulted to it.
Do not re-encode repeatedly. Every pass loses information. Keep the original; produce derivatives from it, not from the last derivative.
A worked example
Concrete numbers make the trade-offs easier to judge than percentages. Take a five-minute product walkthrough captured on a 14-inch MacBook Pro with default settings — full display, 60 fps, high-bitrate H.264.
As captured: 3024×1964, 60 fps, roughly 2.4 GB. Unusable as an attachment, slow to upload, and when it is embedded 900 pixels wide on a page, every one of those extra pixels is discarded on the way.
Change one thing — record a 1512×982 window instead of the display. Same settings otherwise. Around 700 MB. A 70% saving for a change that also makes the content fill the frame.
Change a second thing — 30 fps instead of 60. Around 380 MB, and no visible difference on UI content.
Now export for delivery at CRF 22: around 55 MB. Text still crisp, gradients still clean, and it plays inline anywhere.
Push to H.265 at CRF 26: around 35 MB, at the cost of slightly slower encoding and needing -tag:v hvc1 for Apple players.
From 2.4 GB to 55 MB is roughly a 98% reduction, and the version people watch looks better than the original because the content fills the frame instead of being shrunk into it. Two of those four steps happened before recording and cost nothing.
The lesson worth taking: the biggest wins are decisions, not compression settings.
Troubleshooting
The file is huge but the video looks bad. You are probably recording a scaled Retina display — capturing many pixels and displaying them small, so you pay for resolution you never see. Record a region at the size you will publish.
H.265 file will not play in Safari or QuickTime. Missing -tag:v hvc1. Re-run with it; no need to re-encode from source if you use -c copy with the tag.
Re-encoding takes longer than the video. Use -preset fast instead of medium, or switch to hevc_videotoolbox for hardware encoding.
Audio is out of sync after re-encoding. Add -async 1 or re-encode audio rather than copying it. Variable frame rate captures are the usual cause — add -vsync cfr.
The file is small but the text is blurry. CRF too high, or resolution reduced. Reverse the order: keep resolution, raise quality.
QuickTime says the file is 4 GB but Finder says 1 GB. You are looking at a ProRes master versus its exported version, or a sparse file mid-write. Check with ls -lh.
Recording to an external drive fails partway. Not a size problem but a related one — see screen recording stops by itself.
FAQ
Why do screen recordings take up so much space? Retina capture resolution, 60 fps defaults, real-time encoders that spend bitrate to avoid dropped frames, and screen content being genuinely hard to compress because of sharp text edges and frequent full-frame changes.
How much space does a screen recording take? Roughly 300–800 MB per minute at 1080p from a typical real-time H.264 encoder, and 1.5–3 GB per minute for ProRes. Tuned for delivery, the same minute lands at 20–60 MB.
What is the best format for screen recordings?
H.264 for compatibility, H.265/HEVC for about 30–50% smaller at the same quality — with -tag:v hvc1 so Apple players accept it. ProRes only as an editing master, never for sharing.
Does 60 fps matter for screen recording? Rarely. UI content, cursor movement and scrolling all look fine at 30. Game capture and high-frame-rate animation are the exceptions.
Will compressing make my text blurry? Only if you push too far. CRF 20–23 in H.264 keeps text crisp. Above 24 artefacts land on text edges, which is the worst place for them.
Why is my recording bigger than the same length of Netflix? Netflix encodes once, offline, with far more compute per frame, targeting minimum size. Your Mac encodes in real time while running the app you are recording, and errs toward not dropping frames.
Can I shrink a file without re-encoding? Only by trimming. Changing size means changing the encoded data.
What about GIFs? Far worse. GIF has no modern compression and a 256-colour palette. A short MP4 is smaller and sharper than the equivalent GIF, usually by a large margin.
Is ProRes ever the right choice? Yes — as a master you will edit, colour-grade, or re-export several times. Each H.264 re-encode loses information; ProRes does not, meaningfully. Keep it as the source and never as the thing you upload.
Why is my 4K recording not four times a 1080p one? Compression does not scale linearly with pixels. A 4K frame of mostly static UI compresses proportionally better than a 1080p frame of the same content, so the ratio usually lands nearer 2.5–3× than 4×. It is still far more than you need for a web embed.
Does recording audio meaningfully affect size? No. AAC at 128 kbps is under 1 MB per minute — a rounding error against video. Never compromise audio quality to save space.
Should I use variable or constant bitrate? Constant quality (CRF) rather than either, for anything not being streamed live. CRF spends bits where the frame needs them and saves them where it does not, which suits screen content — long static stretches punctuated by full-frame changes.
The short version
Record a region at 30 fps instead of a full Retina display at 60, and most of this problem disappears before it exists. For files you already have, -crf 22 in H.264 or -crf 26 in H.265 gets you an 80–90% reduction with text that still reads.
The mistake to avoid is reaching for resolution first. Lower bitrate, keep pixels — legible text is the entire reason the recording exists.
Related reading: Screen recording stops by itself on Mac · Screen recording for beginners · Programs like OBS for Mac

Try Screenify Studio
Record your screen with auto-zoom, AI captions, dynamic backgrounds, and Metal-accelerated export. Free plan, unlimited recordings.
Download Free



