How to Add Text and Titles to a Video on Mac
Four ways to add text overlays, lower thirds, and animated titles to videos on Mac — iMovie, Screenify Studio, DaVinci Resolve, and Final Cut Pro.

You recorded a perfect screen capture or camera clip, but the video says nothing on its own. A title card tells viewers what they are about to watch. A lower third identifies the speaker. A callout label points at the button someone should click. Without text, your audience pauses, rewinds, and guesses — or they just leave.
macOS gives you several paths to add text to video, ranging from the free iMovie that ships with every Mac to professional editors that cost hundreds of dollars. The right choice depends on how much control you need over typography, animation, and timing. This guide walks through four concrete methods, covers the gotchas each one hides, and explains when a simple title card is enough versus when you need frame-accurate text placement.
Quick comparison
| Tool | Price | Key feature | Difficulty |
|---|---|---|---|
| iMovie | Free (pre-installed) | 40+ animated title templates | Easy |
| Screenify Studio | Free + Pro plans | AI captions + text annotations on timeline | Easy |
| DaVinci Resolve | Free edition available | Full text+ node system, motion graphics | Medium |
| Final Cut Pro | $300 one-time | Magnetic timeline, 3D titles, Motion templates | Medium–Hard |
Each tool handles text differently. iMovie treats titles as pre-designed templates you drop onto clips. Screenify Studio treats text as timeline-positioned annotations you can place at any pixel coordinate. DaVinci Resolve gives you a full text inspector with kerning, tracking, and keyframeable transforms. Final Cut Pro sits between the last two — template-driven but deeply customizable through Apple Motion integration.
Method 1: iMovie (free, pre-installed)
Adding a title card
- Open iMovie and create a new project by clicking Create New > Movie on the Projects screen.
- Import your video clip. Click the Import Media button (down-arrow icon) or drag the file from Finder directly into the media browser at the top-left of the timeline view.
- Drag the imported clip down into the timeline at the bottom of the window.
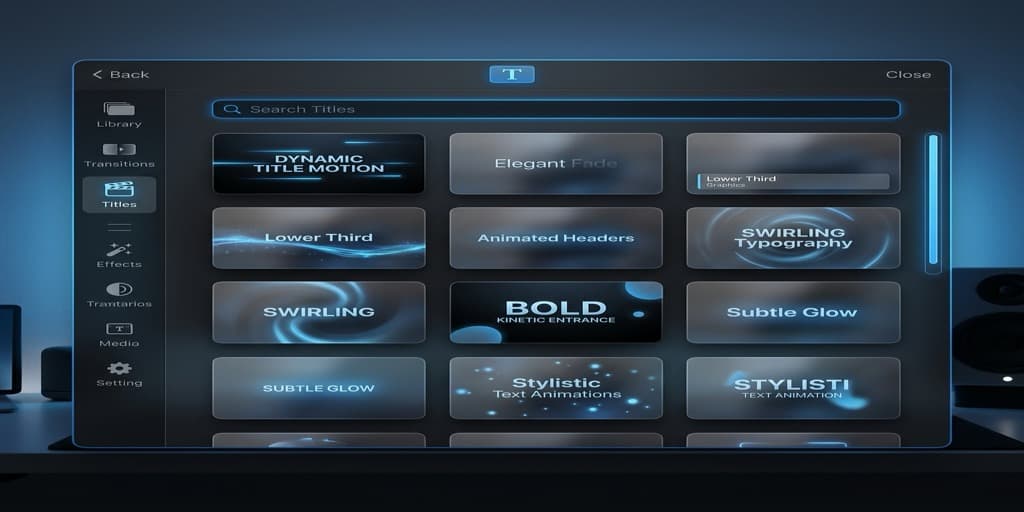
- Click the Titles tab above the media browser. iMovie displays a grid of title styles — Standard, Lower Third, Reveal, Focus, Pop-Up, and roughly 40 others depending on your macOS version.
- Preview a style by hovering over its thumbnail. iMovie plays a short animation showing how the text enters and exits.
- Drag your chosen title onto the timeline. You can drop it directly on top of a clip (overlay) or into a gap before the clip (standalone title card on black).
- Double-click the title block in the timeline to edit the placeholder text. A text editing overlay appears on the preview canvas. Type your title and subtitle.
- Adjust the font, size, alignment, and color using the controls above the preview canvas. iMovie limits you to the fonts and colors it exposes — you cannot enter an arbitrary hex code or use fonts it does not list.
- Drag the edges of the title block on the timeline to control how long the text stays on screen. Most title animations need at least 3 seconds to complete their entrance and exit, so setting a duration shorter than that will clip the animation.
- To add a lower third (speaker name), use the Lower Third title template. Drag it onto the clip at the point where the speaker first appears, then type the name and role.
Limitations to know
iMovie titles are template-locked. You cannot freely position text at an arbitrary X/Y coordinate — the template decides whether text sits centered, in the lower third, or split across two lines. If you need a label pointing at a specific UI element, iMovie is the wrong tool.
Font choices are limited to about a dozen families. You cannot import custom fonts or adjust letter spacing. The color picker offers swatches but no hex input field.
Export uses Apple's built-in encoder. Go to File > Share > File, pick your resolution (up to 4K if the source supports it), and click Next to choose a save location.
Method 2: Screenify Studio (text annotations + AI captions)
Adding text overlays step-by-step
- Open Screenify Studio. If you just finished a screen recording, the editor opens automatically with your clip loaded. Otherwise, open an existing recording from the dashboard.
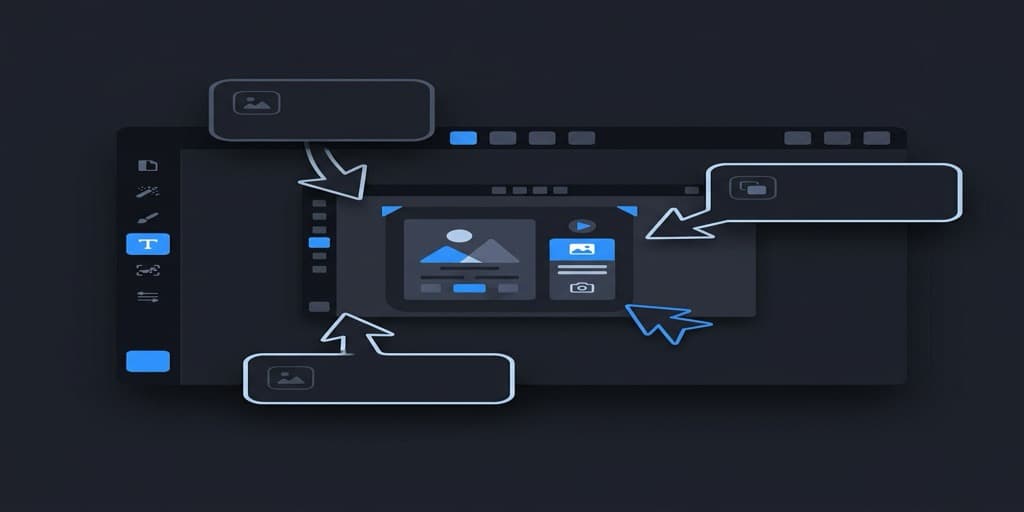
- In the editor, click the Annotate tab on the right panel. You will see a toolbar with annotation types: arrow, rectangle, circle, text, blur, spotlight, and numbered callout.
- Click Text. A text box appears on the canvas with placeholder content. Type your title, label, or callout.
- Drag the text box to position it anywhere on the frame. Unlike iMovie, there are no template constraints — place text wherever the visual context demands it.
- Use the style controls to set font size, weight (bold, regular), color, background fill, and corner radius. A filled background turns your text into a badge-style label; no background gives you clean floating text.
- On the timeline below the canvas, the text annotation appears as a colored bar. Drag its left and right edges to control when the text appears and disappears. A typical title card lasts 3–5 seconds; a UI label might last 1–2 seconds.
- Set the entrance and exit animation. Screenify defaults to a soft fade, but you can switch to pop (scales from 0 to 100%), slide-in from any direction, or typewriter (characters appear one by one).
- Repeat for additional text elements. Each one gets its own timeline track, so you can stack a title, subtitle, and speaker name on the same frame without them interfering.
Using AI captions as text
Screenify Studio can auto-generate captions from your recording's audio track. Click Captions in the editor panel, then Generate. The AI transcribes your narration and places word-level captions on the timeline. You can edit any word, adjust timing, and change the caption style (font, size, position, background).
This is particularly useful for screen recordings with voiceover — the captions act as a second text layer that reinforces what the speaker is saying, making the video accessible and easier to follow on mute.
Export
Screenify renders using Apple's Metal pipeline. A 10-minute 1080p recording with a dozen text annotations typically exports in under 30 seconds on Apple Silicon Macs. Export to MP4, share via link, or upload directly from the app.
Download Screenify Studio to try text annotations — free plan includes all annotation tools with no watermark.
Try Screenify Studio — free, unlimited recordings
Auto-zoom, AI captions, dynamic backgrounds, and Metal-accelerated export.
Method 3: DaVinci Resolve (free edition)
Installing DaVinci Resolve
Download from blackmagicdesign.com/products/davinciresolve. The installer is roughly 3.5 GB. After installation, launch the app and create a new project from the Project Manager.
Adding text to your video
- Switch to the Edit page using the tab bar at the bottom of the screen (or press Shift + 4).
- Import your clip: File > Import > Media (Cmd + I), or drag from Finder into the Media Pool.
- Drag the clip from the Media Pool to the timeline.
- Open the Effects Library panel on the left side (if hidden, click Effects Library in the top-left toolbar).
- Expand Toolbox > Titles. You will see categories: Text, Text+, Fusion Title, Lower Third, Scroll, and more.
- For a basic overlay, drag Text onto a video track above your clip in the timeline. This creates a new title clip.
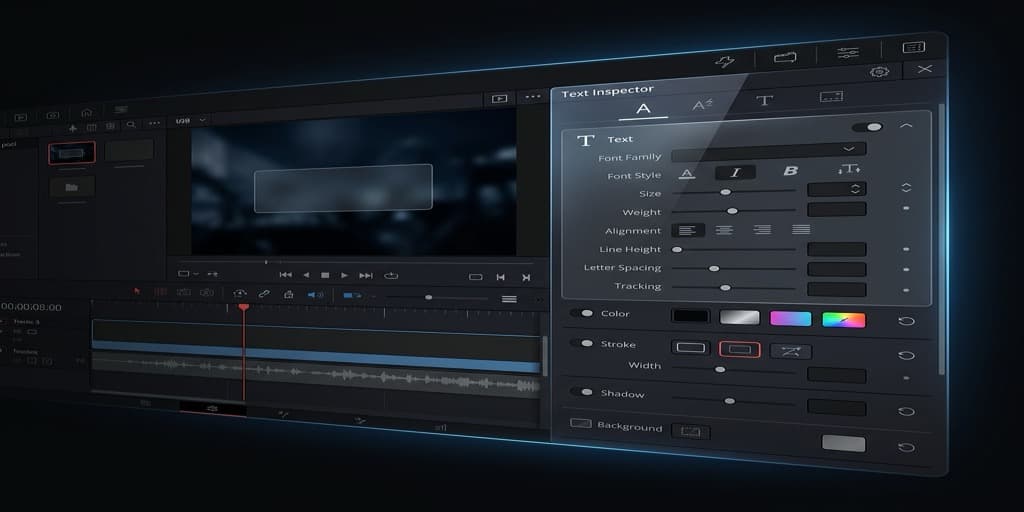
- Select the title clip on the timeline, then open the Inspector panel on the top-right. Under the Text tab, you can type your content, choose any installed font, and set size, color, tracking (letter spacing), line spacing, and alignment.
- Under the Transform section in the Inspector, adjust Position X and Y to place the text precisely. You can also drag the text directly on the preview canvas.
- Add a background or drop shadow under the Settings section. Check Background and pick a color and opacity for a filled card behind the text. Check Drop Shadow for depth.
- For animated titles, use Text+ instead of Text. Text+ is a Fusion-based title with keyframeable parameters — you can animate position, opacity, scale, and individual character transforms.
Keyframing text animation
- Place the playhead at the frame where you want animation to start.
- In the Inspector, click the small diamond icon next to the parameter you want to animate (e.g., Opacity).
- Move the playhead forward 15–20 frames.
- Change the parameter value (e.g., Opacity from 0 to 100).
- DaVinci Resolve creates a smooth transition between the two keyframes. Right-click a keyframe to change the interpolation curve (ease in, ease out, linear).
Export
Go to the Deliver page (Shift + 8). Choose a preset — "YouTube 1080p" or "Custom" for fine control. Click Add to Render Queue, then Render All. DaVinci Resolve encodes using your GPU if available, which speeds up export significantly on Macs with Apple Silicon.
Method 4: Final Cut Pro ($300)
Adding titles
- Open Final Cut Pro and create a new project (File > New > Project). Set the resolution and frame rate to match your source clip.
- Import your clip: File > Import > Media (Cmd + I).
- Drag the clip to the timeline.
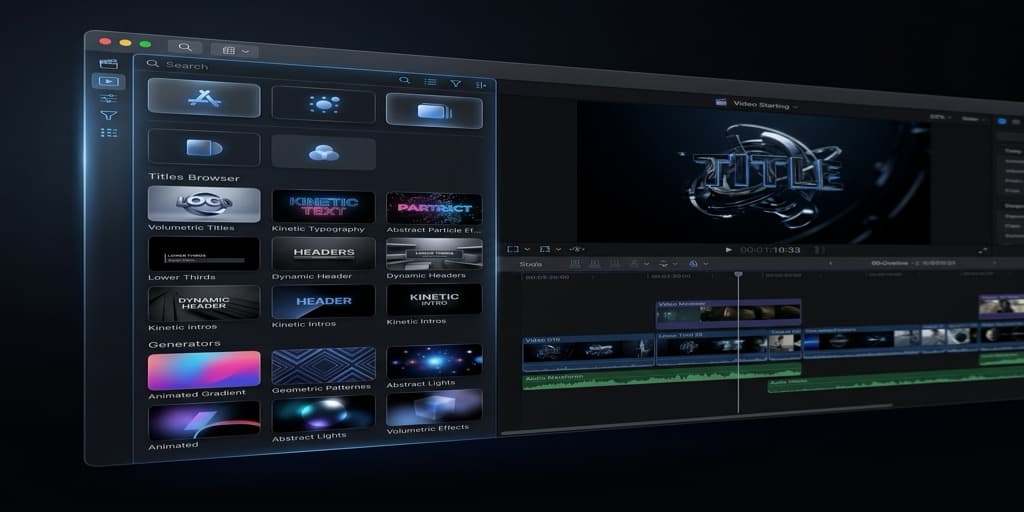
- Open the Titles and Generators sidebar by clicking the T icon in the top-left corner of the timeline area (or press Option + Cmd + 1).
- Browse title categories: Basic Title, Lower Thirds, Bumper/Opener, Build In/Out, 3D, and more. Final Cut Pro ships with over 100 title templates.
- Drag a title onto the timeline above your clip. The magnetic timeline connects it to the primary storyline.
- Double-click the title text in the viewer to edit it. Type your content.
- In the Inspector panel (Cmd + 4), switch to the Text tab to customize font, size, color, outline, glow, and drop shadow. Final Cut Pro exposes more typographic controls than iMovie — you can set exact font weight, tracking, baseline shift, and text alignment.
- For 3D titles, select a 3D title template and use the 3D Text section in the Inspector to adjust lighting, material (metal, wood, glass), and depth.
- Adjust the title's duration by dragging its edges on the timeline. Use the Build In and Build Out sections in the Title Inspector to control entrance and exit animations.
Positioning text precisely
By default, Final Cut Pro titles appear at their template-defined position. To move text freely, select the title on the timeline, then in the viewer, click and drag the text to any position. Hold Shift while dragging to constrain movement to horizontal or vertical. For exact coordinates, use the Transform section in the Inspector — X and Y values are in pixels relative to the frame center.
Custom titles with Apple Motion
If the built-in templates do not match your brand, Final Cut Pro integrates with Apple Motion ($50, sold separately). In Motion, you can build title templates with custom fonts, animations, and parameters that appear as sliders in Final Cut Pro's Inspector. This is the path studios use for branded lower thirds and animated title sequences.
Export
File > Share > Master File for a full-quality export, or choose a destination preset (YouTube, Vimeo, Apple Devices). Final Cut Pro uses Apple's hardware encoder on Apple Silicon, so export speeds are fast — a 10-minute 4K project typically renders in 2–4 minutes.
Troubleshooting
Text appears blurry after export
The most common cause is exporting at a lower resolution than the project. If your timeline is set to 1080p but you export at 720p, text edges lose sharpness. Always export at your project's native resolution. Also check that your export codec is H.264 or H.265 with a bitrate above 10 Mbps for 1080p — lower bitrates compress text edges aggressively.
Title animation cuts off too early
In iMovie and Final Cut Pro, title templates have built-in animation curves that need a minimum duration. If you shorten a title clip below ~2 seconds, the entrance animation may not finish before the exit begins. Solution: extend the title duration to at least 3 seconds, or switch to a simpler template (like Basic Title) that has faster animation timing.
Text is unreadable against the video background
White text on a bright sky or light UI is invisible. Add a drop shadow (available in all four tools), a semi-transparent dark background box behind the text, or an outer stroke/outline. In DaVinci Resolve, the text Inspector has dedicated controls for Background and Drop Shadow. In iMovie, your options are limited to choosing a title style that already includes a dark backing.
Font not showing up in the editor
DaVinci Resolve and Final Cut Pro can use any font installed on your Mac. If a font you just installed does not appear, restart the editor — both apps cache the font list at launch. iMovie and Screenify Studio offer a curated font selection rather than your full system font library.
Exported file size is unexpectedly large
Text overlays add almost nothing to file size — the issue is usually the export codec or bitrate setting. Switch from ProRes (large, lossless) to H.264 or H.265 for web-friendly sizes. In DaVinci Resolve, check the Deliver page and set the bitrate to Auto or a specific value like 15 Mbps for 1080p.
FAQ
Q: Can I add text to a video on Mac without downloading any software?
Yes. iMovie comes pre-installed on every Mac and supports title overlays with 40+ templates. Open iMovie from Applications or Spotlight, import your clip, and drag a title from the Titles browser onto your timeline. No App Store download required — iMovie is already on your Mac.
Q: How do I add a text overlay that appears at a specific timestamp?
In iMovie, drag the title clip on the timeline to the exact position where you want it to appear. In Screenify Studio, DaVinci Resolve, and Final Cut Pro, you have frame-level control — position the text element's start and end points on the timeline to the exact frames you need. DaVinci Resolve and Screenify Studio also show timecodes, making precise placement straightforward.
Q: What is the difference between titles and captions?
Titles are editorial text you add for creative or informational purposes — intro cards, speaker names, UI labels, chapter headings. Captions are transcriptions of spoken audio, synchronized word-by-word to the narration. Titles sit wherever you place them; captions typically sit at the bottom of the frame and follow the speech timing. For a detailed guide on captions, see How to Add Captions to a Video on Mac.
Q: Can I animate text in iMovie?
Sort of. iMovie titles have pre-built entrance and exit animations (fade, slide, typewriter, etc.), but you cannot customize the animation curves or create your own. You pick a template that already has the animation style you want. For fully custom animation — like text that tracks a moving object or types out character by character — use DaVinci Resolve's Text+ or Final Cut Pro with Motion templates.
Q: How do I add text to a screen recording specifically?
Screen recordings work the same as any other video file in these editors. The key difference is positioning: in a screen recording, you usually want text labels near specific UI elements rather than centered on screen. Screenify Studio is purpose-built for this — its annotation system lets you place text at any pixel coordinate over your recording and time it to appear exactly when you interact with that UI element. See our guide on recording your screen on Mac for capturing the source material.
Q: What font size should I use for video text?
For 1080p video, body text should be at least 24px and titles at least 48px to remain legible on smaller screens and social media feeds. For 4K, double those values. Lower thirds (speaker names) work well at 28–36px in 1080p. Always preview at the resolution your audience will watch — text that looks fine on your 27-inch display may be unreadable on a phone screen.
Q: Is there a free tool that supports animated text with full customization?
DaVinci Resolve's free edition is the most capable option. Its Text+ generator supports keyframed animation on position, scale, rotation, opacity, and individual character transforms. You can build complex motion graphics entirely in the free version. The paid Studio edition adds GPU-accelerated effects and neural engine features, but text animation is fully available in the free tier.
Q: How do I add the same text style across multiple videos consistently?
In Final Cut Pro, save your customized title as a favorite (right-click the title in the timeline > Save As Custom Title). In DaVinci Resolve, save a Power Bin with your styled text clip and drag it into any future project. In Screenify Studio, your annotation styles persist within the editor, so repeating the same look across recordings takes one click.
Related guides
- How to Screen Record on Mac — capture the source video before adding text
- How to Record Screen with Narration — voiceover pairs naturally with text overlays
- How to Screen Record for YouTube — YouTube-specific text and title best practices
Try Screenify Studio
Record your screen with auto-zoom, AI captions, dynamic backgrounds, and Metal-accelerated export. Free plan, unlimited recordings.
Download Free


