Multi-Clip Recording, Fully Editable
Record your screen, simulator, or device in several takes and append them into one project — then fine-tune every clip on its own.
A good demo rarely comes out in a single perfect take. You nail the first flow, fumble the second, and end up re-recording the whole thing from the top. This update removes that penalty: record as many takes as you need, append them into one project, and treat each one as an independent clip you can shape after the fact.
Record in Takes, Not in One Shot
Start a recording, stop it, and record the next segment straight into the same project. Screen captures, iOS Simulator sessions, and USB-connected iPhone or iPad recordings can all be appended — you no longer have to get the entire walkthrough right in one continuous run.
Takes of the same size join seamlessly, as if they were captured together. When a new take has a different resolution — say you switch from an iPhone simulator to a physical iPad — Screenify adds it as its own clip on the timeline instead of forcing a mismatched stitch. Either way, the result is one project you keep editing, not a pile of separate files to merge later.
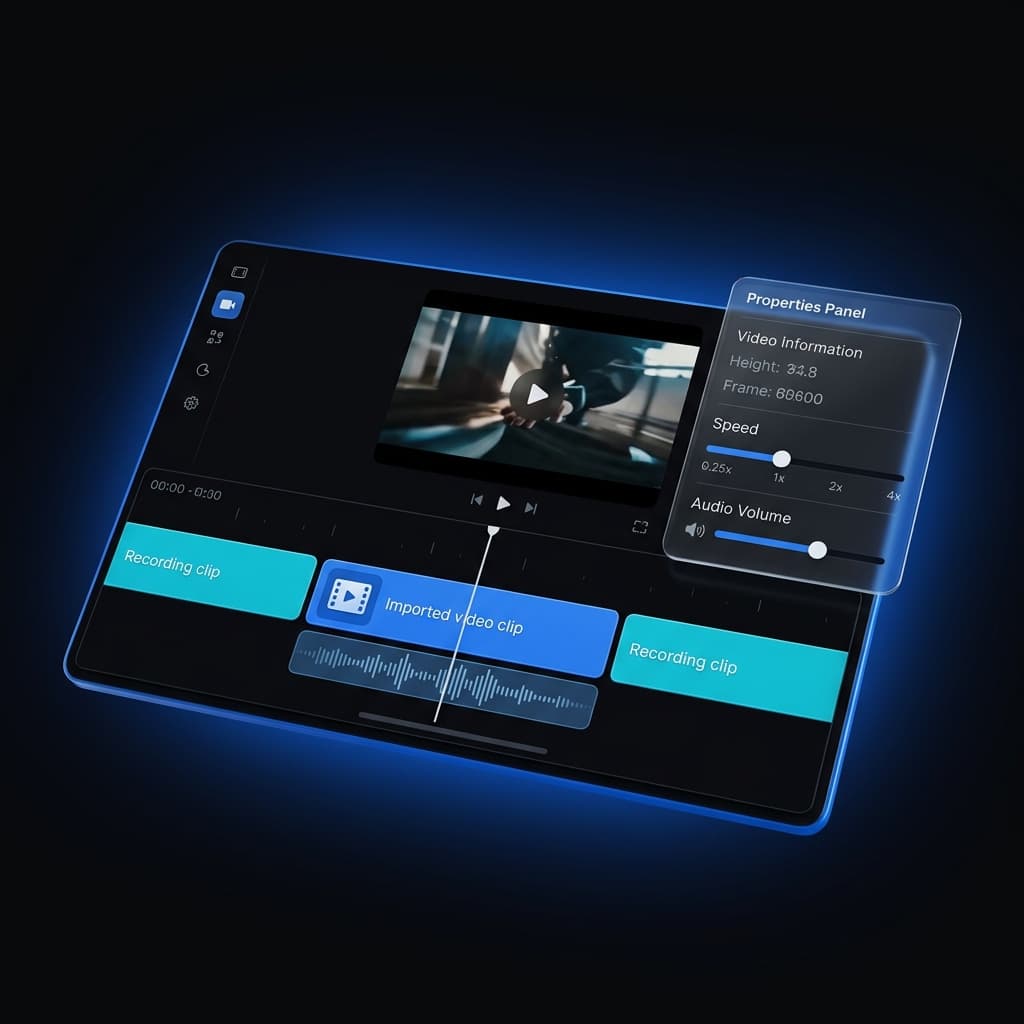
Every Clip Is Its Own
The point of appending isn't just to glue takes together — it's that each clip stays fully editable on its own terms. Select any segment and its controls apply only to that clip:
- Show or hide the camera per clip, independent of the rest of the timeline
- Hide the cursor on a specific take without touching the others
- Mute the microphone or system audio for one segment while the next keeps its sound
- Trim, zoom, add callouts, or apply a 3D camera move to a single clip
This matters most when your takes were captured under different conditions. One segment might have narration you want to keep; the next might be a silent UI pass where the mic should be muted. You set that per clip, and it sticks.
Insert at the Start or the End
New takes don't have to land at the end. Append a clip to close out a walkthrough, or insert one at the very beginning to add an intro you recorded afterward. The rest of the timeline — music, effects, other clips — shifts cleanly to make room, so a late idea doesn't mean rebuilding the project.
It Remembers How You Were Recording
When you append another take, Screenify restores the capture source you used before: the same window, the same custom area, the same simulator or connected device, even the same macOS Space. You don't re-pick your setup every time you hit record — the next take starts framed exactly like the last.
Smoother Preview for Portrait Recordings
Tall recordings — iPhone simulators, portrait device captures — used to strain the editor preview at full resolution, drifting behind the cursor and dropping frames on longer clips. This release moves those recordings onto a smoother, hardware-accelerated preview path, so scrubbing and playback stay sharp and in sync even on long multi-take projects. Landscape recordings are unaffected, and the change is preview-only: your export is byte-for-byte the same.
Audio and Video Stay in Sync
Simulator and device captures now anchor their audio and camera to the recording window at capture time, so voice and on-screen action line up from the first frame — across single takes and appended ones alike. It's the kind of fix you only notice when it's missing.
Best Practices for Multi-Take Projects
- Record in logical chunks. One take per feature or screen is easier to trim and reorder than one marathon session, and a fumbled step only costs you that one short clip instead of the whole run.
- Set per-clip audio deliberately. Mute the mic on silent passes so a stray keyboard sound doesn't sneak into the final cut, and keep it live on the takes you actually narrate.
- Match resolutions when you can. Same-size takes join seamlessly; mixing sizes still works but adds a visible clip boundary, so decide up front whether that cut is intentional.
- Use insert-at-start for intros. Record your hook last, once you know how the walkthrough lands, then drop it in front — often the cleanest way to open a demo.
- Trim before you polish. Tighten each take's in and out points first, so zooms, callouts, and camera moves sit on the footage you're actually keeping.
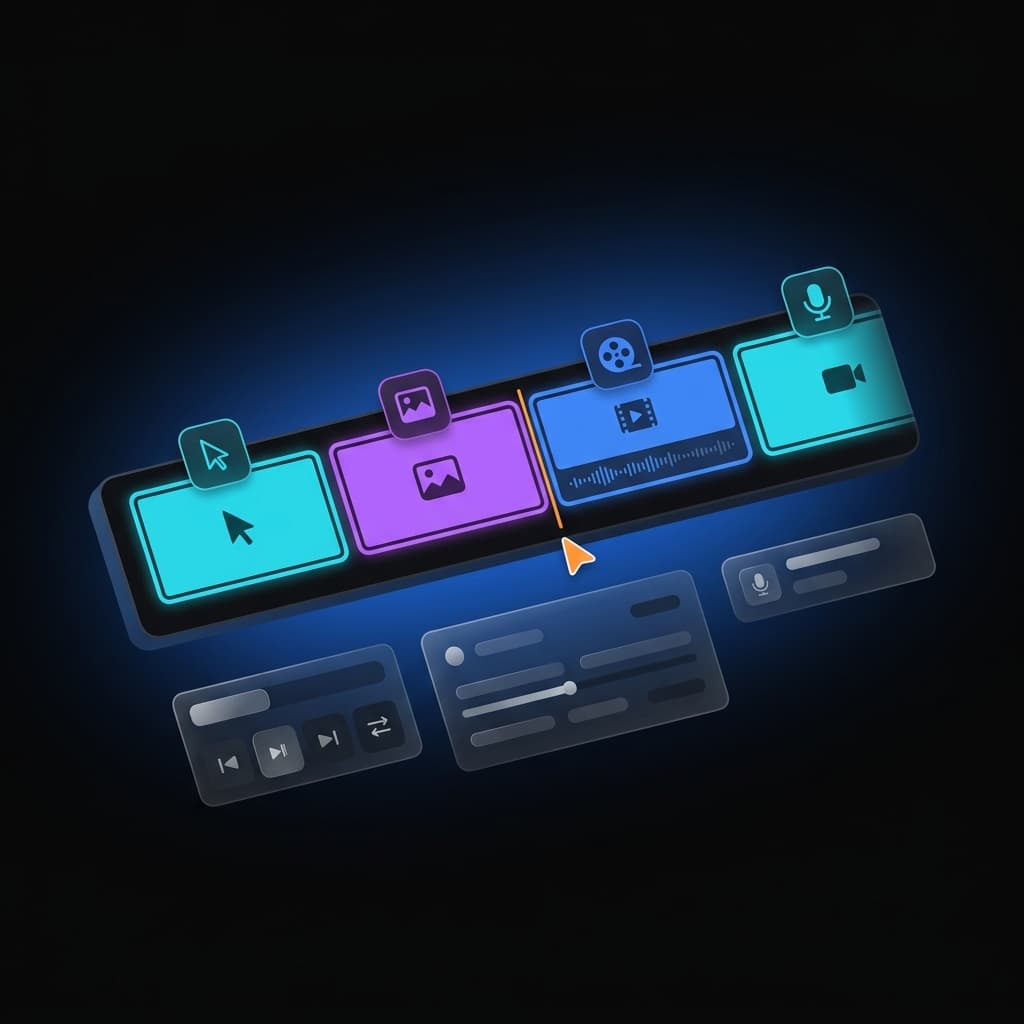
Where This Fits
Multi-clip recording builds on the multi-source timeline that already lets you insert a video file as a timeline segment, and it pairs naturally with photorealistic iOS device frames when you're producing App Store or product walkthroughs. Recording several takes of an iPhone flow and framing them in a device shell is now a single, uninterrupted project.
Try Screenify Studio — free, unlimited recordings
Auto-zoom, AI captions, dynamic backgrounds, and Metal-accelerated export.
Get Started
Open a project, record your first take, then record the next one right into it. Trim each clip, set its camera and audio, and export once. Download Screenify Studio and build your next walkthrough one take at a time — without re-recording from scratch.
Try Screenify Studio
Record your screen with auto-zoom, AI captions, dynamic backgrounds, and Metal-accelerated export. Free plan, unlimited recordings.
Download Free


