Mastering Camera Paths: Advanced Zoom Keyframes are Here
Take total control of your screen recordings with multi-point zoom keyframes. Precision timing, custom easing, and professional camera paths are now at your fingertips.

Professional video editing is often about the subtle movement of the camera. In screen recording, that movement is "Zoom." Until now, zoom was a simple affair: you pick a spot, you pick a depth, and the camera goes there.
Our latest update changes that. We are introducing Advanced Zoom Keyframes — a multi-point camera system that lets you choreograph complex movements with surgical precision.
Beyond Single-Point Zoom
The old "Simple Mode" (which is still there for quick edits) handles one transition: go from A to B. But what if you want to zoom into a menu, hold for a second, pan slowly across a toolbar, and then snap back to full screen?
That requires multiple points in time. It requires Keyframes.
How Keyframe Mode Works
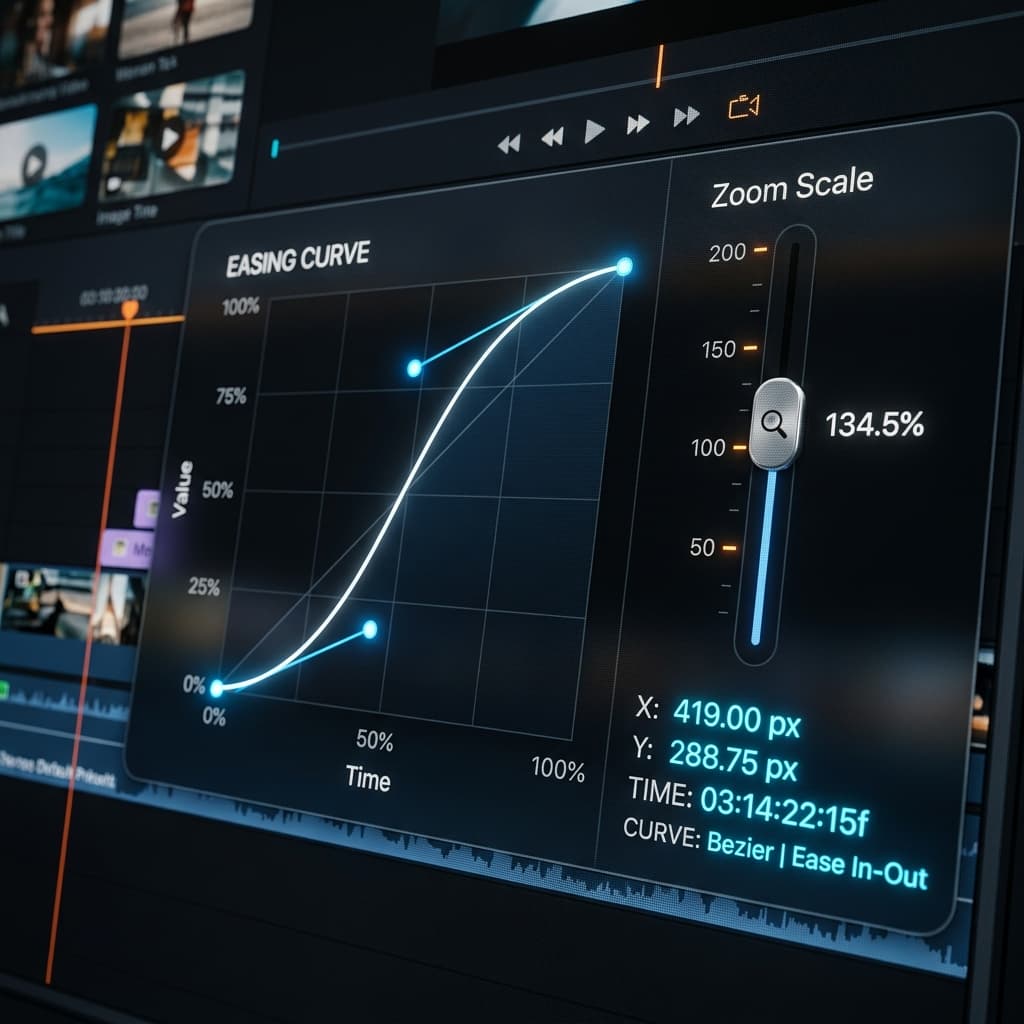
When you convert a zoom segment to Keyframe Mode, your properties panel transforms into a precision timeline. You can now drop "diamond" markers at any point during that segment. Each marker holds its own unique state:
- Zoom Depth: From subtle 1.25x scaling to intense 16x focus.
- Focus Position: The exact X/Y coordinate the camera is centered on.
- Hold Duration: How long the camera stays perfectly still before moving to the next point.
- Custom Easing: Choose between Smooth (ease-out), Snappy (ease-in), or Linear transitions for every single segment of the path.
Professional "Camera Paths"
Keyframes allow you to create what cinematographers call a "Camera Path." Instead of the camera jumping between spots, it flows.
Imagine a product demo:
- 0s: Start at 1.5x zoom on the "File" menu.
- 2s: Glide slowly (Linear easing) across to the "Export" button while staying zoomed in.
- 4s: Hold at the "Export" button for 800ms while you explain it.
- 5s: Snap back (Ease-in) to a wide 1x view of the entire app.
This used to take four separate zoom segments. Now, it’s one single segment with four keyframes. It’s cleaner, smoother, and much faster to edit.
Inline Timeline Markers
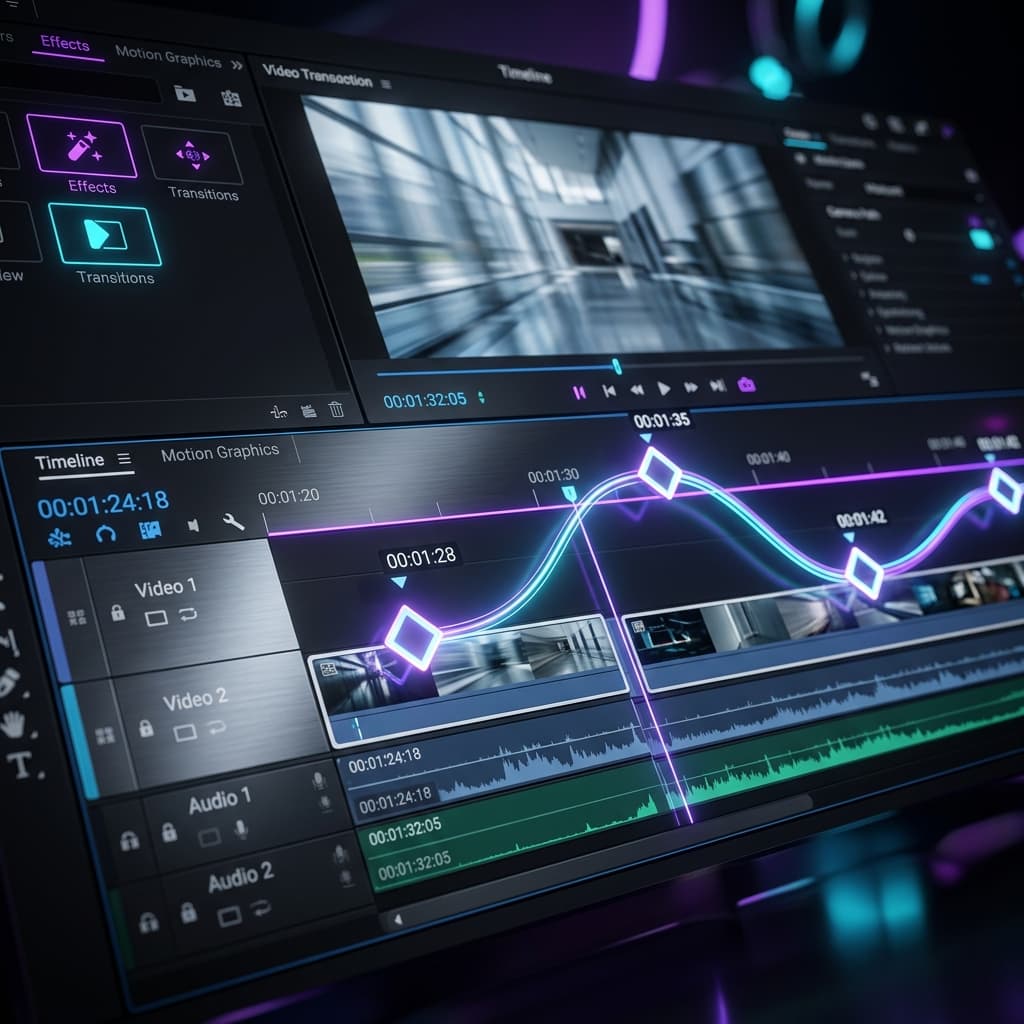
You don't just edit keyframes in a panel; you see them on your main timeline. Every zoom segment now displays its keyframe "diamonds" inline. You can drag these markers left or right to change the timing of your animation without ever opening a properties menu.
The visual connection lines between markers show you at a glance how the camera is moving: a flat line means a "hold," while a sloped line means a transition is in progress.
Metal-Powered Performance
Precision requires performance. Our rendering engine has been rebuilt to interpolate these keyframes per-frame. Whether you’re previewing your edit or exporting via our Metal GPU pipeline, the movement is butter-smooth. There is no stuttering, no "jumping," and no sync issues — even when you have 10+ keyframes in a single 5-second window.
Pro Tips for Keyframe Design
- Use "Hold" for clarity: Don't just zoom in and out. Give your viewers a second to actually look at what you’re highlighting by setting a
holdMsvalue. - Vary your Easing: Use "Ease-out" for natural, gliding movements and "Ease-in" for quick, punchy transitions that grab attention.
- Keep it minimal: A few well-placed keyframes are usually better than a jittery path with too many points.
Try Screenify Studio — free, unlimited recordings
Auto-zoom, AI captions, dynamic backgrounds, and Metal-accelerated export.
Download Screenify Studio and start building professional camera paths today.
Try Screenify Studio
Record your screen with auto-zoom, AI captions, dynamic backgrounds, and Metal-accelerated export. Free plan, unlimited recordings.
Download Free


