Under the Hood: Building a Non-Destructive 3D Device Rendering Pipeline
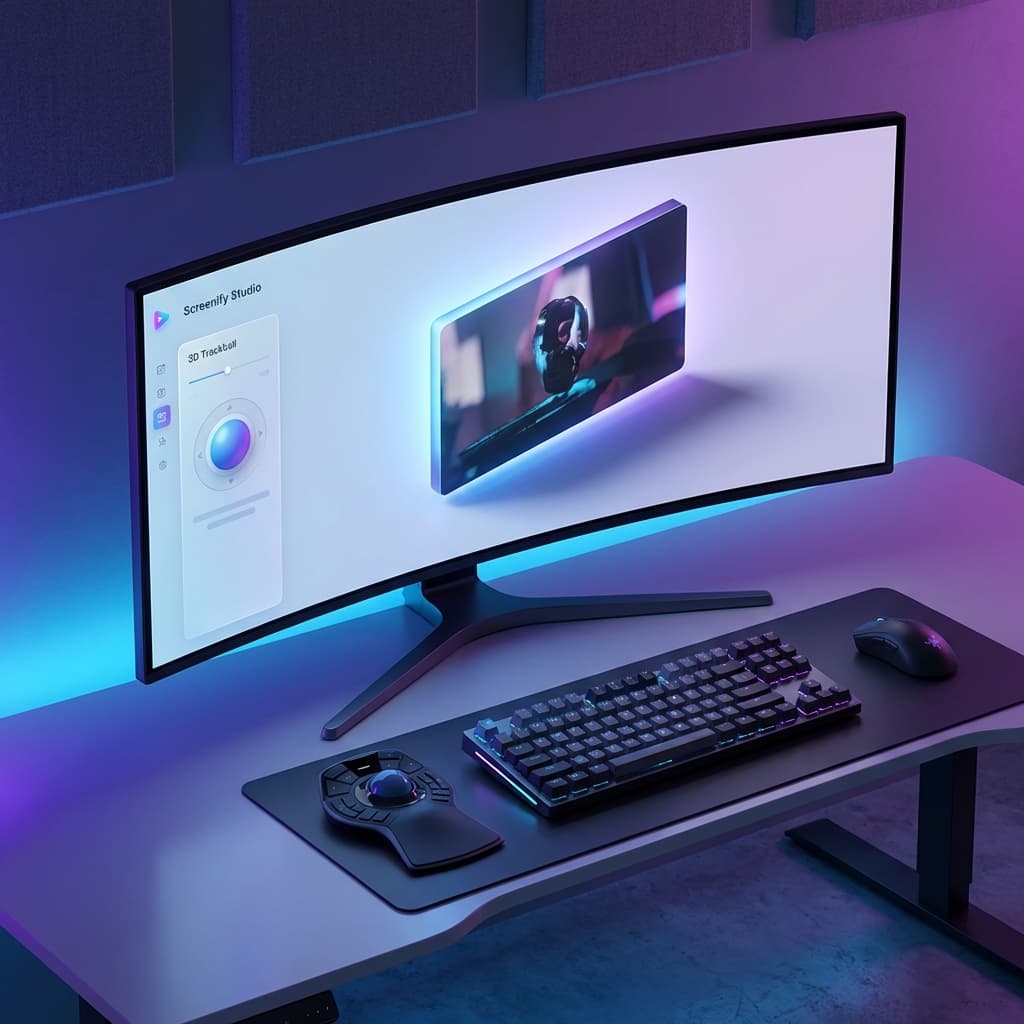
Dive deep into the graphics architecture of Screenify Studio. Learn how our engineering team built a high-performance, non-destructive 3D Device Rendering Stage (Path 3) using WebGL, Metal, and wgpu that seamlessly handles 2D post-production effects.

When building a high-fidelity screen recording and video editing application like Screenify Studio, rendering a gorgeous 3D smartphone frame is only half the battle. The true engineering challenge lies in pipeline integrity.
How do you wrap a video in a fully interactive, lighting-aware 3D device mockup without breaking your existing post-production effects? How do you ensure that smooth cursor trails, high-precision callouts, text captions, and draw-on-screen annotations remain perfectly legible, sharp, and physically aligned while the 3D phone rotates, spins, and orbits through cinematic camera paths?
In Sprint 103, the Screenify engineering team tackled this exact problem. By establishing our Path 3 (Post-Compositing 3D Stage) Architecture and writing custom procedural mesh renderers in WebGL, Metal, and wgpu, we built a non-destructive 3D rendering pipeline that is fast, lightweight, and mathematically robust. Here is a look behind the curtain at how we engineered it.
1. The Core Engineering Challenge: The "Double-Distortion" Trap
In traditional video editors, if you want to place a screen recording inside a 3D smartphone model, you map the raw video file onto the phone mesh as a texture.
However, if you have editing tracks like text overlays, zoom keyframes, mouse cursors, or drawing annotations, mapping them in 3D creates severe visual degradation:
- Perspective Text Distortion: If captions or text annotations tilt alongside the phone, the perspective skew makes them unreadable at steep angles.
- Cursor Layer Detachment: High-precision cursor smoothing must reflect absolute mouse coordinates. If the phone is tilted, drawing a cursor trail flat on top of a skewed video creates a disturbing floating illusion where the mouse cursor is disconnected from the interactive elements underneath.
- Compositing Redundancy: If the rendering engine has to project every separate vector element, callout, and cursor directly into the 3D spatial coordinate matrix, render loops quickly experience massive latency, and export performance grinds to a halt.
We needed an architecture that kept editing features completely independent of 3D coordinate transformations.

2. The Breakthrough: Path 3 Post-Compositing Architecture
To resolve this, we evaluated multiple architectural directions before designing and implementing Path 3.
Instead of injecting 3D coordinate math directly into the individual layers of the video editor, Path 3 decouples the 2D Compositor from the 3D Stage by placing the 3D layer at the very end of the rendering pass.
For each frame:

  [2D Compositor]  ──►  Screen Buffer (flat texture)
   recording + zoom + cursor + callout +        │
   mask + annotation + caption-on-content       │
   (WITHOUT drawing wallpaper/padding/shadow)   │
                                                 ▼
  [3D Stage] ◄── device mesh (PBR) + Shot (camera) + Lighting
   • screen buffer = screen texture              │
   • wallpaper (Screen config tab) = backdrop    │
   • ground shadow                                │
                                                 ▼
  [Final Overlay]  ◄── webcam PiP + watermark (flat, upright)
                                                 │
                                                 ▼
                                            [Encoder]
The Rendering Pipeline Flow:
- The 2D Compositor Pass: The engine runs all standard 2D vector computations first. It layers the raw video source, applies dynamic zoom translations, scales smooth cursor coordinate paths, overlays callout highlights, and places captions directly relative to the video content. Crucially, it does not draw the background padding, wallpapers, or canvas drop shadows yet.
- Screen Buffer Texture Extraction: The output of this 2D composite is written into a dedicated offscreen pixel buffer. This results in a flat, crisp Screen Buffer texture.
- The 3D Stage Pass (Path 3): If the 3D Device Frame is active, the engine binds the Screen Buffer texture directly as the emissive map of the virtual phone's screen mesh. It renders the 3D phone model (complete with physical shaders, specularity, ground shadows, and glass glare reflections) and aligns the virtual camera according to the active Device Motion (Shot) preset. It then draws your customized wallpaper directly as the backdrop behind the 3D stage.
- The Final Overlay Pass: Finally, components that must never be distorted—such as picture-in-picture webcam feeds or corporate watermarks—are drawn perfectly flat on top of the final rendered frame.
- Encoder: The composite is sent straight to the video encoder.
If the 3D Device Frame is turned off, the engine simply bypasses steps 3 and 4 entirely, routing the 2D Compositor output directly to the encoder. This ensures zero performance regression for standard screen recordings.
3. Designing Procedural Meshes for Triple-Surface Consistency
To ensure the product feels cohesive, the video editor viewport preview and the exported files must look identical. This is extremely challenging because Screenify runs on three distinct rendering surfaces:
- Editor Viewport Preview: Renders using WebGL (integrated via Three.js inside PixiJS).
- macOS Metal Export Engine: Uses native Apple Metal shader passes (
crates/export-metal). - Standard Cross-Platform Export Engine: Uses Rust-based
wgpu(crates/rendering).
Initially, we considered shipping standard .glb or .gltf 3D model files. However, this introduced major integration risks:
- Loading
.gltfassets in raw C++ or Rust Metal headers requires writing complex, custom mesh loaders, adding dependencies, and risking file-loading bugs. - Asset licensing models for highly accurate phone frames are legally complex.
- Asset loading introduces asynchronous network races in the frontend preview, leading to visual flickering on editor mount.
The Solution: Procedural Mesh Generation
Instead of loading static files, our graphics engineers wrote procedural mesh generators that programmatically construct the 3D phone and tablet bodies directly in code.
Using mathematical rounded-rectangle extrusions, double-bevel corner boundaries, flat disk camera cylinder plateaus, and precise lens rings, we built highly detailed models of the iPhone 17 Pro Max and iPad Pro procedurally.
This technique yielded monumental benefits:
- Perfect Visual Sync: Because the mesh is built using simple mathematical parameters (corner radii, bezels, thickness, and aspect ratios), the Three.js preview, Apple Metal pipeline, and
wgpushader passes draw the exact same geometry down to the sub-pixel level. - Zero Asset Weight: We saved megabytes of asset storage. The entire 3D geometry engine is represented by a few hundred lines of high-performance code.
- Instant First Frame Render: There are no network downloads or asynchronous file read operations. The mesh mounts synchronously, eliminating layout races.
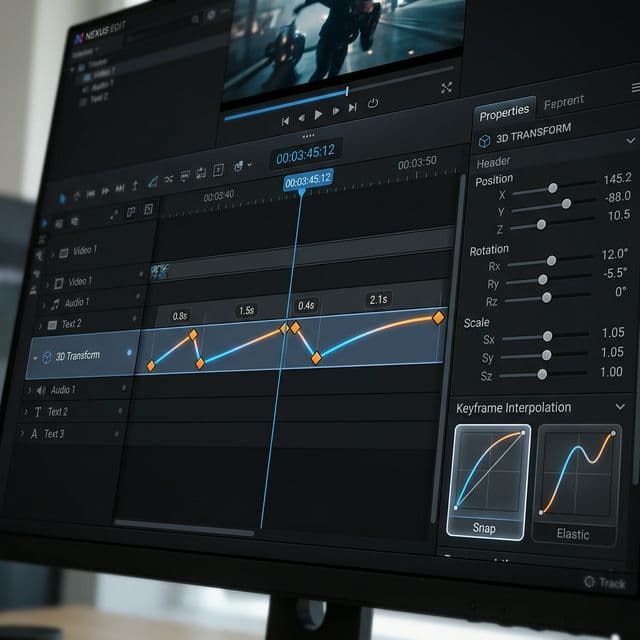
4. Keyframe Interpolation and Motion Envelopes
To drive the cinematic camera sweeps, the Device Motion (Shot) segments on the timeline must be interpolated smoothly. We reused the robust mathematical interpolation engine we designed for our Transform3D camera system.
Each segment on the Shot track contains an entryDuration and exitDuration paired with customized transition easing curves (such as ease-out, ease-in-out, or linear).
segment:  start ├───────────────────────────┤ end
shot:           [entry][──── sustain ────][exit]
                 ~1-2s   co giãn theo segment  ~1-2s
The camera coordinates (pitch, yaw, distance, and orbit radius) are calculated at the active playhead timestamp T:
Formula:
Final Camera Pose = lerp(Default Pose, Shot Motion Pose(T), Envelope(T))
- When the envelope is 0 (during a gap between segments), the camera stays in its default static, flat-faced pose.
- When the envelope ramps up to 1 (using the chosen curve), the camera blends seamlessly into the fully animated, dynamic shot motion path.
- When transitioning between two contiguous segments, the exit curve of Segment A and the entry curve of Segment B cross-fade, providing a gorgeous, uninterrupted cinematic transition.
5. Architectural Safeguards and Lessons Learned
Integrating raw WebGL, Canvas layouts, and PixiJS stages inside a complex React state machine exposed tricky lifecycle challenges. Two major bugs from our Sprint 103 log highlight the defensive measures we implemented:
Resolving the First-Mount Layout Race (BUG-12)
Upon launching the 3D Stage, we hit a race condition: when the editor loaded, the screen texture on the phone mockup appeared stretched or blank. The root cause was multifaceted:
- The CSS Layout Race: We hid the underlying PixiJS canvas during 3D mode using
display: none. This forced the canvas'sclientWidthto drop to0, breaking our UV crop calculations. We solved this by usingvisibility: hiddeninstead, keeping the layout dimensions intact in the DOM. - Effect Declaration Ordering: The effect creating the texture ran before the effect setting the crop dimensions. We solved this by merging both into a single, cohesive React effect. The texture is now seeded with the correct UV coordinates from frame 0, ensuring absolute visual stability on first paint.
Decoupling Zoom Transforms (BUG-8)
In early builds, applying editor zoom while the 3D Stage was active caused the video texture to expand inside the phone screen, while the phone body itself stayed static.
We resolved this by disabling internal coordinate zooms during 3D mode. Instead, we apply equivalent CSS transform scales directly on the HTML wrapper container containing both the PixiJS canvas and the 3D WebGL viewport. This replicates the visual sensation of a 2D camera zooming in on the physical phone itself, keeping the phone and its content perfectly synchronized.
6. The Future of High-Performance Presentation
Sprint 103 showcases the power of isolating rendering stages and writing programmatic graphics pipelines. By leveraging clean architecture, procedural rendering, and hardware-accelerated exports, Screenify Studio offers pro-level, non-destructive video editing capabilities directly to every mobile developer.
Open Screenify Studio, load your latest build, and experience high-performance, cinematic app presentations powered by state-of-the-art graphics engineering.
Try Screenify Studio
Record your screen with auto-zoom, AI captions, dynamic backgrounds, and Metal-accelerated export. Free plan, unlimited recordings.
Download Free


