Behind the Scenes: Engineering the Screenify Web App & Video Share Hub
Explore the technical architecture and engineering sprints behind Screenify Studio's web platform. Learn how we built our S3-multipart upload engine, secure desktop OAuth handshake, and high-performance sharing platform.
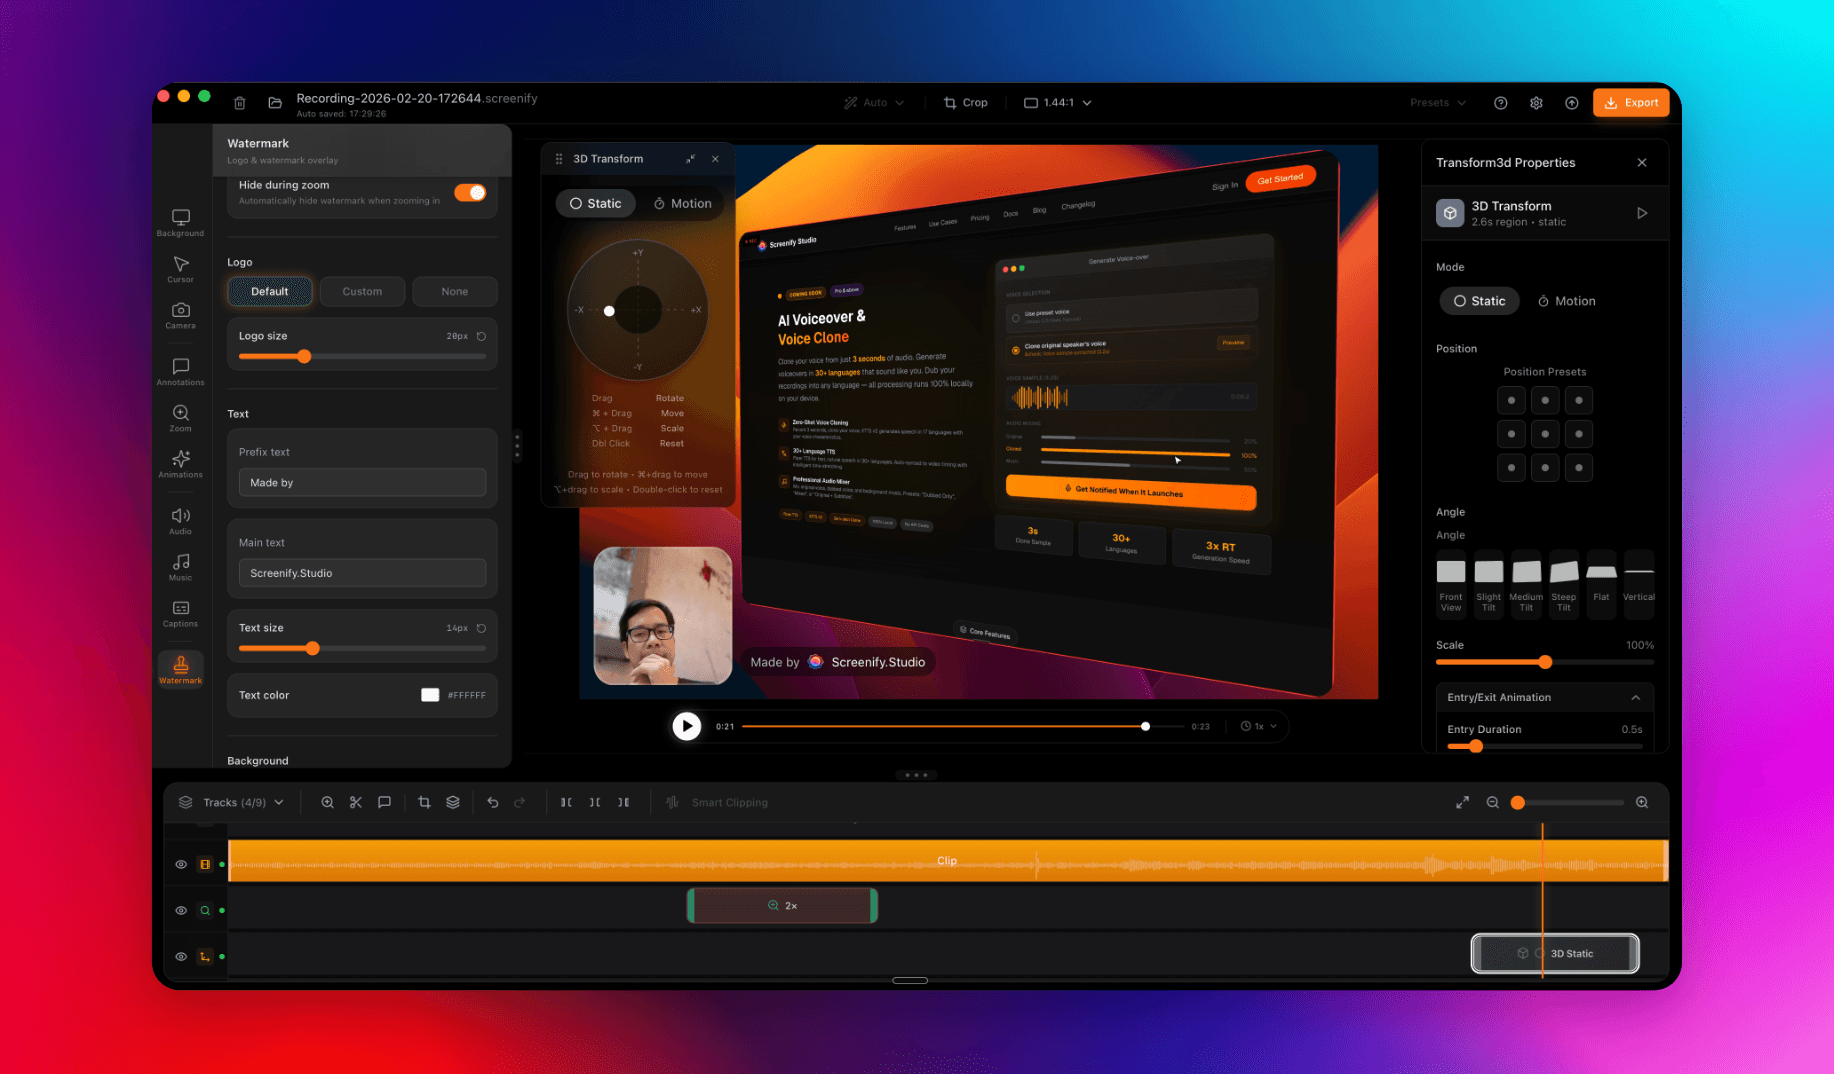
A great desktop application is only as powerful as the ecosystem that supports it. While the core Screenify Studio macOS client is busy driving hardware-accelerated Metal exports and neural-engine-based auto-zooms on-device, our web engineering team has been building a high-performance web platform to match.
The Screenify Web App & Dashboard serves as the central hub for our users. It handles user waitlists, desktop licensing, subscription payments, automated transactional emails, auto-update distributions, and—most importantly—our instant cloud-sharing pipeline.
Over the course of multiple intense sprints, we designed, built, and deployed this web platform using Next.js, TypeScript, Tailwind CSS, Supabase, and Cloudflare R2. Here is a detailed look behind the curtain at the architecture and engineering breakthroughs of our web platform sprints.
1. Landing Page, Branding & Smart Download Modal (Sprints 1-15)
The first phase was all about establishing Screenify Studio's digital presence and creating an onboarding experience that felt exceptionally smooth.
We designed a split-layout hero page equipped with 3D tilt and glow card transformations driven by Framer Motion. But instead of offering static download links, we engineered a platform detection mechanism:
- Platform Detection Hook (
usePlatformDetect): A custom React hook dynamically evaluates the user's navigator agent to detect macOS, Windows, or Linux. It automatically pivots the primary CTA to serve the correct platform bundle. - The Download Link Interceptor: To prevent losing users when they click a download button, we built the
DownloadLinkInterceptorand a modularDownloadModal. When a user clicks any download link pointing to/downloadacross our blogs, docs, or landing pages, our router intercepts the request. Instead of triggering a crude browser redirect, it mounts a custom, elegant modal containing download instructions, system requirements, and an instant waitlist subscription box, preserving user session state.
2. Fumadocs Integration for a Unified Content Engine (Sprints 20-30)
Technical communication is vital for product adoption. Instead of relying on a fragmented CMS or third-party documentation tools, we wanted a unified, local-first content engine.
We integrated Fumadocs (fumadocs-mdx, fumadocs-core, and fumadocs-ui) to power our blogs, changelogs, and technical documentation under a single Next.js routing structure:
// source.config.ts - Fumadocs Collection Loader
import { defineCollections, defineConfig } from 'fumadocs-mdx/config';

export const docs = defineCollections({
  dir: 'content/docs',
  schema: (z) => z.object({
    title: z.string(),
    description: z.string().optional(),
  }),
});

export const blog = defineCollections({
  dir: 'content/blog',
  schema: (z) => z.object({
    title: z.string(),
    description: z.string(),
    date: z.string(),
    tags: z.array(z.string()).optional(),
    image: z.string().optional(),
    author: z.string().optional(),
    category: z.string().optional(),
    draft: z.boolean().optional(),
  }),
});
By leveraging MDX collection loaders and structuring our file naming conventions (e.g., YYYY-MM-DD-slug.mdx), we achieved absolute design consistency. It allowed us to embed rich, interactive custom React components directly inside standard Markdown documents—powering elements like our interactive camera layouts and bento grids.
3. The Security Core: Supabase Auth & Desktop OAuth Handshakes (Sprints 40-55)
Handling authentication for a web platform is standard; handling it seamlessly across a desktop-web boundary is a complex engineering task. We selected Supabase for our database schema, authentication, and real-time synchronization.
To connect our native macOS client with the web dashboard, we designed a custom Desktop OAuth Handshake Flow:
- The user clicks "Login" inside the Screenify macOS desktop app.
- The desktop app spawns the system web browser, navigating to our secure login page on the web.
- The user authenticates on the web via Google, GitHub, or email verification.
- Upon successful authentication, the browser hits
/oauth/desktop/callback. - Our callback handler extracts the session tokens, packs them into a cryptographically secured URL scheme, and redirects the browser to
screenify://oauth/callback?token=.... - The macOS system routes this custom URI scheme back to the active Screenify desktop app, instantly logging the user in.
This entire flow runs securely through Next.js middleware, checking active sessions and protecting our /dashboard/* routes from unauthorized access.
4. Subscriptions & Payments: LemonSqueezy & Resend (Sprints 60-89)
To monetize the platform, we integrated the LemonSqueezy API as our merchant of record, creating a robust, tier-aware licensing system.
[ User Checkout ] ──► [ LemonSqueezy Portal ] ──► [ Payment Successful ]
                                                          │
                                                          ▼
  [ Supabase DB ]  ◄── [ Sync Subscription Tiers ] ◄── [ API Webhook ]
  Updates storage       /api/webhooks/payment             │
  quotas & capabilities                                    ▼
                                                   [ Resend Email API ]
                                                   Sends welcome & key
Our payment processing logic is isolated behind /api/webhooks/payment. When a user successfully purchases a plan:
- The webhook verifies the signature to ensure authenticity.
- It parses the active subscription tier and syncs it with our Supabase
usersdatabase table. - It updates the user's storage quota dynamically (e.g., upgrading their active cloud storage limits).
- It triggers an automated, responsive payment confirmation email powered by the Resend SDK (integrated in Sprint 89).
5. Overcoming Cloud Limits: S3-Multipart Uploads & R2 Sharing Engine (Sprints 90-110)
One of our biggest engineering challenges was handling video uploads. Screen recordings are large files. Standard serverless API routes on Vercel enforce strict payload size limits (typically 4.5MB to 50MB) and a 10-to-30-second timeout window. Direct-to-server uploads were out of the question.
We built an S3-Compatible Multipart Upload Pipeline connected to Cloudflare R2:
[ Dashboard Client ]              [ Next.js API ]            [ Cloudflare R2 ]
         │                               │                           │
         │ ─── 1. Initiate Upload ─────► │                           │
         │ ◄── 2. Multipart Presigned URL │                           │
         │                                                           │
         │ ─── 3. Upload File Chunk (direct to S3) ────────────────► │
         │ ─── 4. Upload Next Chunk (direct to S3) ─────────────────► │
         │                                                           │
         │ ─── 5. Complete Multipart Upload ──►                      │
         │ ◄── 6. Assemble Chunks & Store ────────────────────────── │
By requesting presigned multipart upload URLs from our Next.js API, the client-side dashboard splits large video files (up to 500MB) into smaller chunks and streams them directly to Cloudflare R2. This bypasses Vercel entirely, ensuring 100% reliability, zero timeout failures, and optimal network bandwidth saturation.
Once uploaded, we serve these recordings instantly through our dedicated sharing platform at /s/[shareId]. This sharing engine is highly optimized for search crawlers and social platforms, serving custom Open Graph metatags so that when a link is shared on Slack, Discord, or X, it displays a beautiful video preview card.
6. Premium Dashboard UX & Ergonomic Folder Management (Sprints 110-120)
In our most recent sprints, we focused entirely on refining the user dashboard to deliver a responsive, lightning-fast file management experience.
We introduced a repository-based data layer pattern separating business logic from raw database drivers, facilitating rapid UI iterations. Key UX additions include:
- Drag-and-Drop Folders: Built dynamic
FolderCardcomponents that handle native drag events, allowing users to drop video files directly into physical folders with instant backend database state updates. - Ergonomic Keyboard Listeners: To make the web app feel like a native desktop workspace, we implemented custom keyboard shortcut hooks. Users can select all videos on their grid with
Cmd+A, delete highlighted files instantly withDelete, or close active modals usingEscape. - Responsive Collapsible Sidebar: A smooth, Framer-Motion-powered sidebar collapses into a clean icon-dock layout on smaller viewports, preserving valuable canvas screen space.
- Tier-Aware Storage Quota: An interactive, responsive progress bar displays real-time disk usage, warning users before they reach their S3/R2 subscription limits.
The Road Ahead
Building the Screenify web platform has been an exercise in leveraging modern web architectures to complement native desktop apps. By offloading heavy compute processes to native Metal and keeping orchestration, payments, metadata, and sharing securely on the web, we have achieved a highly resilient hybrid model.
Open the Screenify Studio Web App, explore the dashboard, upload a cinematic demo, and experience the high-performance media ecosystem we built for you.

Try Screenify Studio
Record your screen with auto-zoom, AI captions, dynamic backgrounds, and Metal-accelerated export. Free plan, unlimited recordings.
Download Free



